
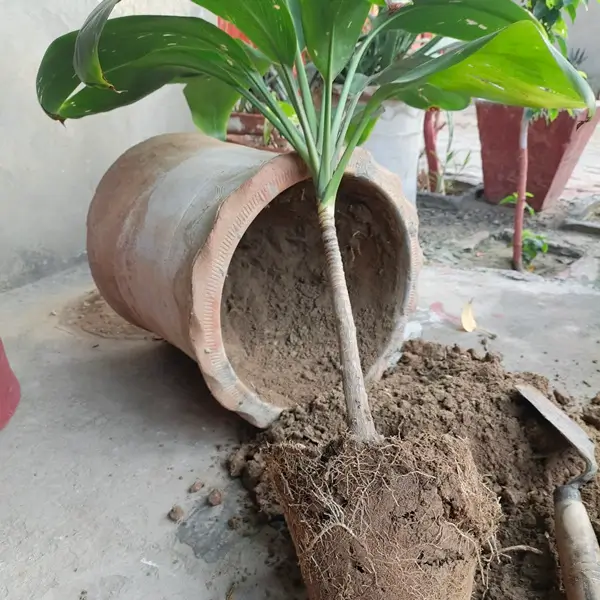
Key Takeaways
| What You Will Learn | How It Helps Your Plant |
| Best Time to Repot Dracaena | Understand indicators that your plant needs more space before roots suffocate. |
| Potting Mix for Dracaena | Learn ideal soil secret to avoid root rot & keep roots hydrated. |
| Right Pot Size | Understand how selecting the right container size triggers healthier growth. |
| Step-by-Step Repotting Guide | Uncover the transfer technique that eliminates transplant shock completely. |
| Post-Repotting care | Master the watering schedule required during the recovery phase. |
| Common Mistakes | Find out repotting mistakes that cause yellow leaves & how to fix them. |
Learning how to repot dracaena properly is essential for its health & growth.
Root-bound, soil & lack of nutrients can cause slow growth.
Following dracaena repotting guide helps you pick the right container, soil & grow your plant safely.
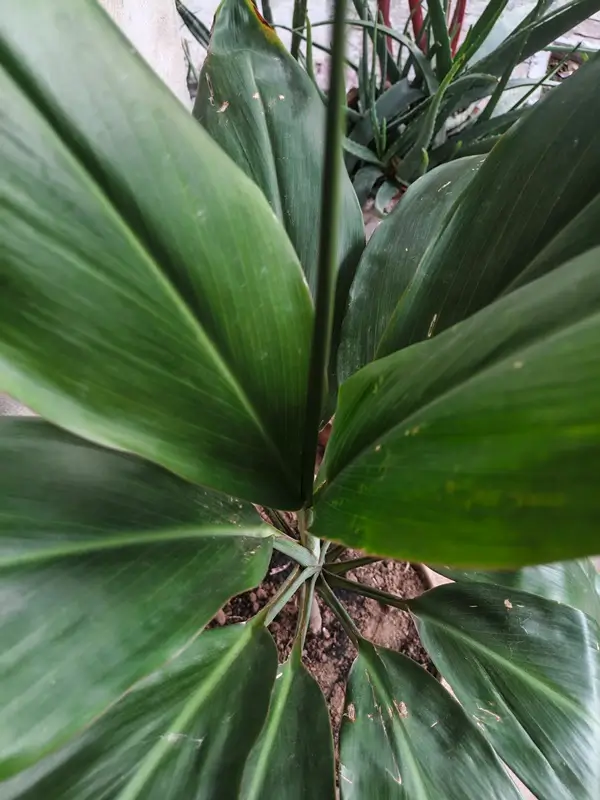
4 Overgrowth Dracaena Indicators (When to Repot)
Every indoor plant reaches a moment when their beloved dragon tree stops showing growth.
Dracaenas are durable houseplants but when their root systems outgrow their containers – their ability to absorb water & essential soil nutrients drops.
Mastering how to repot dracaena helps you to grow your plant.
Knowing when to repot dracaena is first step in repotting a dracaena plant.
Indicator 1: Root Extension & Drainage Clearance
Learning how to repot dracaena gives you clarity on your plant’s overall health.
- When dracaena becomes root-bound – root system begins searching for space in every possible direction
- If you notice roots winding around inner rim of pot or growing directly out of the bottom drainage holes
- This signals an urgent need for repotting dracaena plant containers
Following a dracaena repotting guide will help you safely free compressed roots without causing root shock.
Indicator 2: Dracaena Leaf Yellowing
Dracaena gives you a signal of what is happening in soil & when to repot dracaena before leaf loss gets worse.
If lower leaves begin turning yellow or dropping after regular dracaena care – roots start preventing moisture distribution.
After learning dracaena plant care you realize that – congested roots stop receiving oxygen & causing leaf drop.
Understanding a step-by-step dracaena repotting guide – helps you handle roots before switching pots.
Indicator 3: Rapid Moisture Depletion
- Another indicator in dracaena repotting guide is how the soil behaves during watering sessions
- When a pot contains more roots than soil – water drains straight in container without being absorbed
- If you notice this happening, selecting the best soil for dracaena
- Preparing a well-draining dracaena soil ensures moisture is distributed around root after repotting indoor plants
Indicator 4: Stunted Dracaena Growth
- Spring & summer are active growth periods for most tropical varieties
- If your dragon tree fails to produce fresh green leave – its roots have run out of space to expand
- This is time for repotting dracaena plant varieties into larger containers
- Transplanting your plant into fresh dracaena potting mix provides the space required to grow again
Understanding these indicators makes repotting indoor plants simple & stress-free.
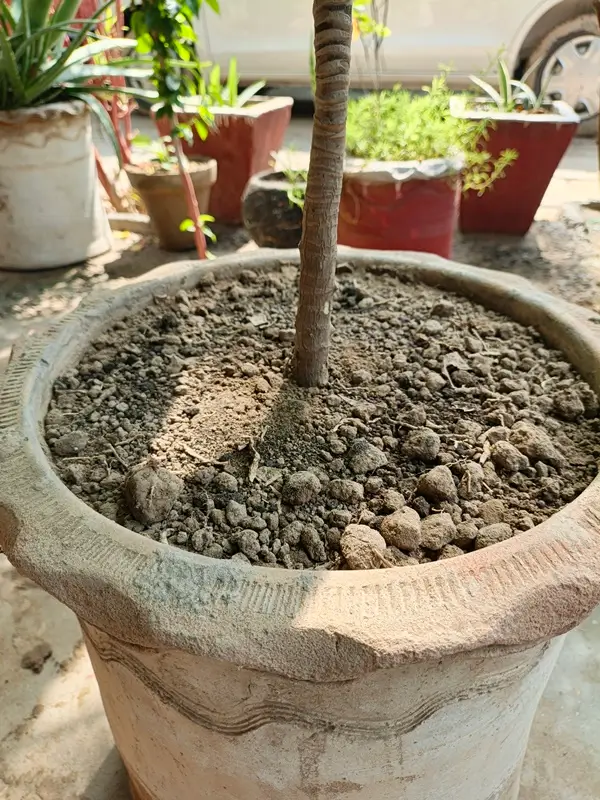
4 Soil Drainage Levels of Dracaena (Best Potting Mix)
Understanding how to repot dracaena successfully depends heavily on quality & structure of growing medium.
Dragon trees are sensitive to standing water around their root system & making a dense or heavy soil is their biggest enemy.
Creating or selecting the best soil for dracaena involves balancing aeration, organic moisture retention & fast drainage.
Level 1: Coarse Aeration Basics
- When learning how to repot dracaena, soil texture is as important as container selection
- These plants grow in coarse & mineral-rich soils that dry out moderately between rainfalls
- Standard potting soil suffocates roots & traps moisture
- Perlite & pumice mix soil allows oxygen to flow in roots & gives proper ventilation during dracaena plant care
Level 2: Dracaena DIY Soil Mix Recipe
A proven & professional-grade recipe for repotting dracaena plant specimens includes:
-
2 Parts Coarse Peat Moss or Coco Coir: Retains lightweight moisture without compacting
-
1 Part Perlite or Pumice: Enhances soil porosity & prevents root rot
-
1 Part Orchid Bark / Pine Chips: Provides structural aeration for long-term health
-
A Handful of Compost or Worm Castings: Delivers gentle & slow-release organic nutrients
These ingredients guarantees best soil for dracaena & helping roots grow.
Level 3: Soil pH Optimization (6.0–6.5)
- Soil pH directly affects how your plant absorbs minerals after repotting a dracaena plant
- Dracaenas thrive best in acidic to neutral soil & ideally with a pH level between 6.0 & 6.5
- If the soil becomes overly acidic or alkaline – leaf tips can quickly turn brown or develop spots
To learn more about soil chemistry – check out this guide on houseplant soil pH management.
Level 4: Commercial vs Custom Blends
- Standard cactus & succulent mixes work well for repotting indoor plants because they are formulated to drain rapidly
- However adding extra perlite & fine pine bark to mixtures helps you achieve ideal dracaena potting mix
Following this approach guarantees a smooth transition – whenever you consult a dracaena repotting guide.
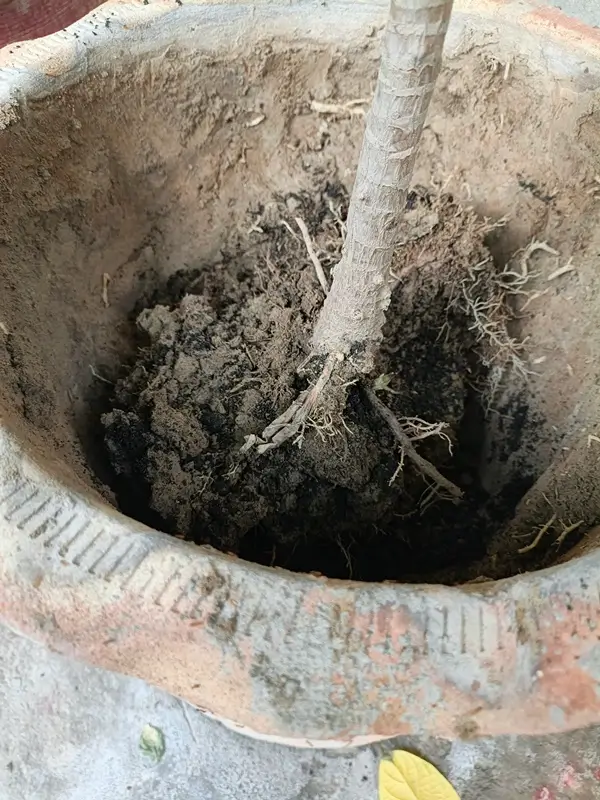
4 Essential Container Rules (Dracaena Pot Selection)
Selecting container size is most important decision when learning how to repot dracaena.
A small pot limits root growth & oversized pot holds too much water.
Understanding proper pot dimensions helps your dragon tree grow strong & healthy.
Rule 1: The 1-to-2-Inch Upgrade Limit
When upgrading your container during repotting Dracaena plant – always follow the standard 1-to-2-inch rule.
- Choose a new pot that is only 1 to 2 inches larger in diameter than the old one
- For example, if your plant is currently in a 6-inch pot – move it into a 7-inch or 8-inch pot
- Moving straight into a massive pot creates extra wet soil – which destroys your dracaena plant care efforts
Rule 2: Mandatory Drainage Holes
No matter how beautiful a decorative container looks – it must have functional bottom drainage holes.
- When learning how to repot dracaena – proper drainage is non-negotiable
- Excess water must drain freely so the soil stays moist not soggy
- If you love a decorative pot without drainage holes set a simple plastic nursery pot inside it to maintain easy drainage during routine repotting of indoor plants
Rule 3: Material Types (Terracotta vs Plastic vs Ceramic)
The material of your container directly changes how fast your dracaena potting mix dries out after watering:
-
Terracotta Pots: Highly porous – allowing air to flow & drying out soil quickly
-
Plastic Nursery Pots: Lightweight, budget-friendly & retain moisture evenly for longer periods
-
Ceramic Pots: Heavy, stable & stylish – making them ideal for top-heavy dragon trees that tip over easily
Choosing right material set your soil moisture balance for dracaena in all seasons.
Rule 4: Depth & Stability for Tall Trees
- Dracaena grow taller they naturally become top-heavy & require a heavy container
- Choosing a pot with adequate depth prevents the plant from leaning or falling over under its own weight
- When you practice repotting a dracaena plant – pot should be deep enough to cover root mass comfortably by 1 to 2 inches
- It allows new roots to grow downward easily & keeping your plant balanced & grow according to your dracaena repotting guide routine
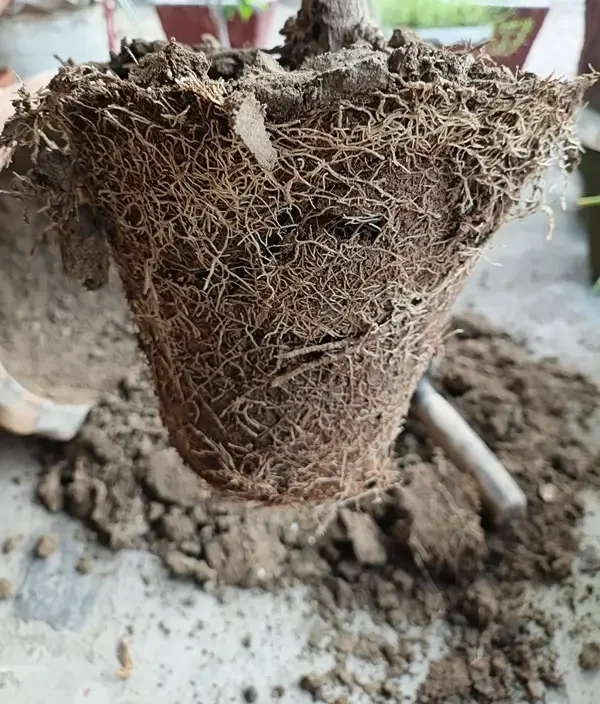
Photo credits – UR (Plantsnexus)
4 Execution Steps (Dracaena Repotting Process)
Learning how to repot dracaena step-by-step makes repotting easy.
Following a clear dracaena repotting guide protects roots.
Fresh dracaena potting mix gives your dragon tree best environment to grow strong.
Step 1: Safe Plant Extraction
- Turn the pot sideways & hold stem near the base
- Tap the bottom gently to slide plant out smoothly
- Use your fingers to untangle compressed root ball edges softly
Step 2: Dracaena Root Health Inspection & Pruning
- Inspect the roots carefully before moving your plant to its new home
- Healthy roots feel firm & light brown or white
- Trim off any soft, dark & mushy roots using clean pruning shears
- Cleaning old roots promotes active growth during routine dracaena plant care
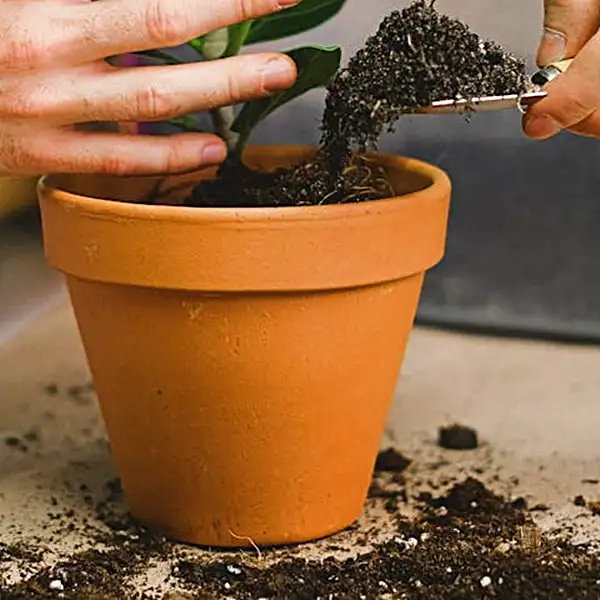
Step 3: Centering & Potting Technique
- Add a 2-inch layer of best soil for dracaena at bottom of new pot
- Center your dragon tree & check the soil height
- The base of the stem should sit an inch below the rim
- Fill the sides with fresh dracaena potting mix & press down lightly
Step 4: Initial Watering & Placement
- Water your newly potted dragon tree deeply until excess water drains out completely
- This initial soak settles the fresh soil around the root zone
- Place the container in warm & indirect light to encourage quick recovery
- Proper placement helps smooth repotting indoor plants without triggering leaf drop
4 Recovery Rules (Dracaena Post-Repotting Care)
After completing the transfer process – proper post-repotting care helps your dragon tree bounce back quickly.
Knowing how to repot dracaena is only half the battle.
Rule 1: Light & Temp Stability (65°F–80°F)
- Place your newly transplanted plant in a warm spot with bright & indirect sunlight
- Avoid placing it in direct & harsh sun during the first two weeks
- Keep the room temperature comfortable & ideally between 65°F & 80°F
- Gentle lighting encourages steady root extension into the new dracaena potting mix
Rule 2: Post-Transplant Watering Routine
- Fresh soil holds moisture differently than old soil
- Water only when top 2 inches of soil feel dry after touch
- Avoid overwatering during recovery – as excess water suffocates healing roots & leads to fungal rot
Following proper watering routines – is an important part of long-term dracaena plant care.
Rule 3: 4-to-6-Week Fertilizer Delay
Do not apply chemical fertilizers immediately after repotting dracaena plant
Most fresh commercial soils already contain nutrients & extra plant food can easily burn fresh root tips
Wait at least 4 to 6 weeks before applying a diluted & balanced houseplant fertilizer
For detailed tips check out this guide on houseplant fertilization basics.
Rule 4: Managing Transplant Shock of Dracaena
It is completely normal for your plant to look droopy for a few days.
- Do not panic if one or two lower leaves turn yellow & drop – the plant adapts to its new environment
- Keep soil moderately moist, maintain humidity & allow your plant time to adjust
- A consistent care routine helps your plant flourish in best soil for Dracaena
4 Pitfalls to Avoid (Common Dracaena Errors)
Avoiding simple errors makes a huge difference – when learning how to repot dracaena safely.
Many indoor gardeners compromise plant growth by rushing transfer process or using improper soil.
Following structured dracaena repotting guide keeps your plant safe from root rot – when repotting dracaena plant varieties indoors.
Pitfall 1: Oversized Containers
- Placing your plant into a huge pot is a very common mistake during repotting indoor plants
- An oversized container holds excess water for too long – which suffocates delicate roots
- Understanding when to repot dracaena – into a sized container helps proper root development
- Always stick to 1 to 2 inch pot upgrade rule to keep your dracaena potting mix moisture levels balanced
Pitfall 2: Aggressive Root Disturbance
- Shaking or tearing healthy roots during repotting dracaena plant causes severe transplant shock
- You only need to loosen compressed root edges using your fingers
- Practicing gentle handling is an essential part of effective dracaena plant care
- This process protects sensitive root structures & maintains healthy soil aeration
Pitfall 3: Early Overwatering
- Watering too heavily or letting the pot sit in standing water leads to quick root decay
- Letting soil stay soaking wet stops oxygen flow
- Always allow the top 2 inches of soil for dracaena to dry out before watering again
- Using a properly aerated mix facilitates proper drainage
Pitfall 4: Immediate Chemical Feeding
- Adding strong fertilizer right after switching pots burns fragile new root tips
- Fresh commercial soil already provides plenty of nutrients for first month
- Wait 4 to 6 weeks before applying any fertilizer after completing transfer process
- Knowing when to feed ensures consistent growth during long-term care
Frequently Asked Questions
When should you repot a Dracaena?
Repot your dracaena every 2 to 3 years in spring or early summer - when it becomes root-bound. Key signs include roots growing out of drainage holes & water draining straight through without absorbing, or growth stalling during warm months.
What is the best potting soil for a Dracaena?
The best soil is a lightweight & well-draining potting mix with a slightly acidic pH (6.0–6.5). A great custom mix is 2 parts peat moss or coco coir, 1 part perlite & 1 part orchid bark to ensure proper root aeration & prevent root rot.
Do dracaenas need big pots?
No, dracaenas do not need large pots. They prefer a snug container that is only 1 to 2 inches larger in diameter than their current root ball. Oversized pots hold too much excess water which leads to soggy soil & root rot.
How do I make my dracaena bushy?
Prune or cut top main stem using clean shears during active spring & summer growth. Removing top growth tip forces plant to sprout multiple new branches from cut area, creating a fuller & bushier look.