Key Takeaways
| Key Takeaways | Why It’s Important |
|---|---|
| How to Know When It’s Time | Recognizing the signs that indicate your plant is ready for a new home. |
| The Crucial Role of Repotting | Ensuring continued growth and preventing common plant issues. |
| Tools You Must Have | A checklist of essential supplies to make the process effortless. |
| The Right Way to Repot | How to repot a snake plant? A step-by-step breakdown to safely transition your plant. |
| Choosing the Best Pot & Soil | The key factors that influence healthy root development. |
| Post-Repotting Care Secrets | What to do immediately after repotting for a thriving plant. |
| Avoiding Common Pitfalls | The biggest mistakes plant owners make and how to steer clear of them. |
Why Snake Plants Need Repotting
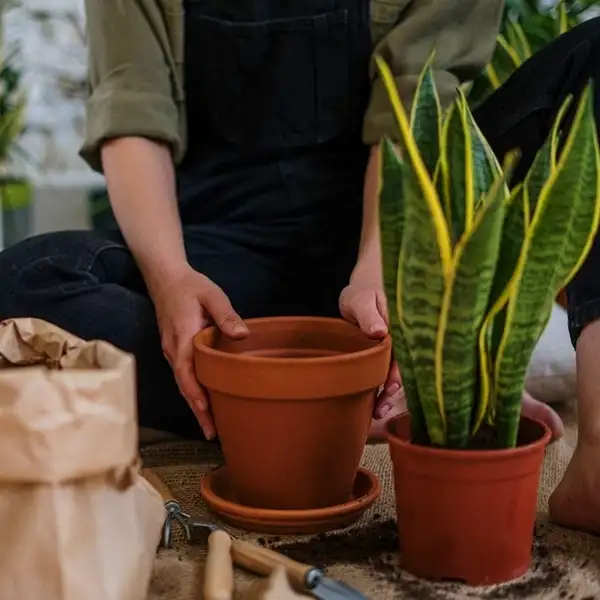
It was a quiet afternoon, and my prized snake plant—grown over years of care and attention—stood proudly by the window. But one day, I noticed its pot bulging at the seams, roots snaking out of the drainage holes. I knew it was time to take action, guided by years of experience in keeping houseplants thriving.
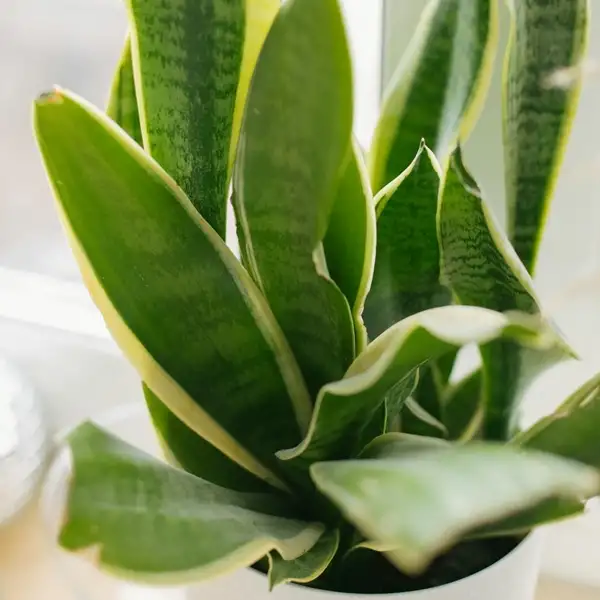
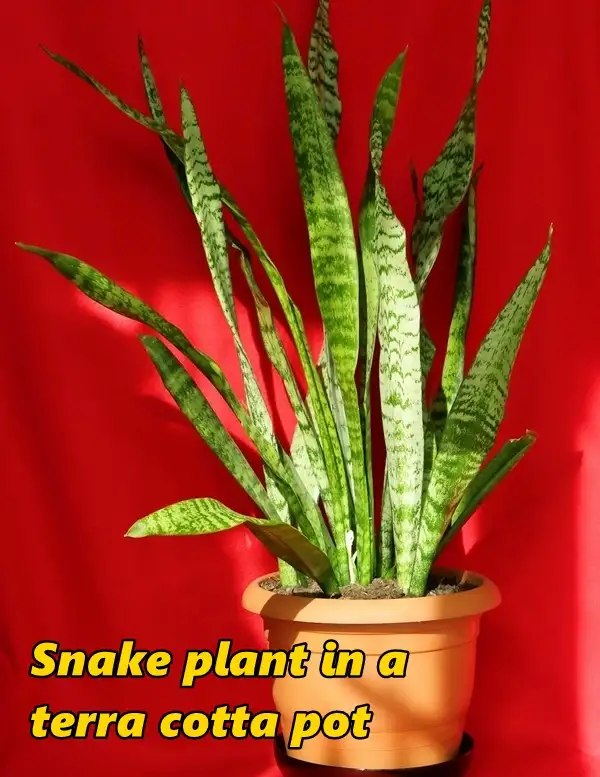
Snake plants also known as mother-in-law’s tongue or Sansevieria trifasciata are popular houseplants renowned for their low maintenance requirements & exceptional resilience. Their distinct aesthetics – characterized by upright & spearlike leaves with varied patterns of green – can give a unique touch to your indoor decor.
While these plants adapt well to various conditions & require minimal care compared to other indoor varieties, there comes a time when your snake plant might need repotting.

Regular repotting is an imperative part of the lifecycle management of almost any houseplant. Snake plants in particular multiply quickly through rhizomes (underground stems), which results in dense growth that eventually becomes too heavy for the pot it was initially cultivated in. Moreover, they inevitably outgrow their pots over time and may become root-bound if not given larger accommodations.
The degree of urgency regarding the need for repotting depends greatly on the species of snake plant you own; some grow much faster than others. If proper care is taken during initial stages, most types will generously return favor with lush greenery at a moderate pace until reaching maturation when replanting becomes inevitable about every two-three years depending on size.
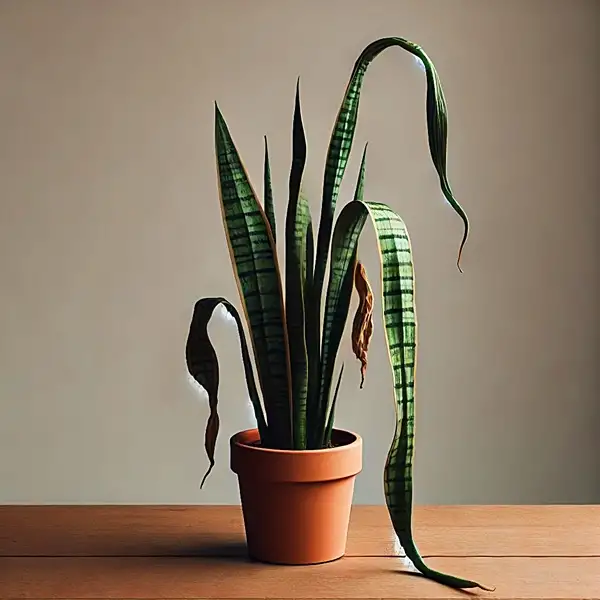
5 Signs: When Your Snake Plant Needs Repotting
Knowing when exactly it’s time to repot isn’t always obvious, especially for those new to gardening. However certain signs indicate that your snake plant desires more space:
| Sign | Description |
|---|---|
| Roots Emerging from Drainage Holes | Visible roots indicate the plant has outgrown its current pot and needs more space |
| Cracked or Bulging Pot | The pot shows signs of stress due to root expansion, suggesting it’s time for a larger container |
| Stunted Growth | Despite proper care, the plant’s growth slows, often due to root confinement |
| Yellowing Leaves | Leaves turn yellow, possibly from overcrowded roots affecting nutrient absorption |
| Top-Heavy or Tipping Over | The plant becomes unstable, indicating the need for a sturdier pot to support its size |
5 Tools You Need: Preparing For Repotting Process
Before starting this process, you need to make sure that all necessary tools are well-prepared. The basic supplies for repotting your snake plant include –
| Supply | Purpose |
|---|---|
| New Pot (1-2 inches larger in diameter) | Provides additional space for root growth |
| Well-Draining Potting Mix | Prevents waterlogging and promotes healthy root development |
| Clean Scissors or Pruning Shears | Used to trim any damaged or dead roots |
| Gloves | Protects hands from dirt and potential irritants |
| Slow-Release Fertilizer (optional) | Provides nutrients to support new growth post-repotting |
My Recommendations:
- Choose containers made from breathable materials like terra cotta which prevents overwatering by absorbing excess moisture.
- Avoid drastically changing the pot’s size; moving up gradually is more beneficial as substantial space increase can shock plant roots leading towards slower growth.
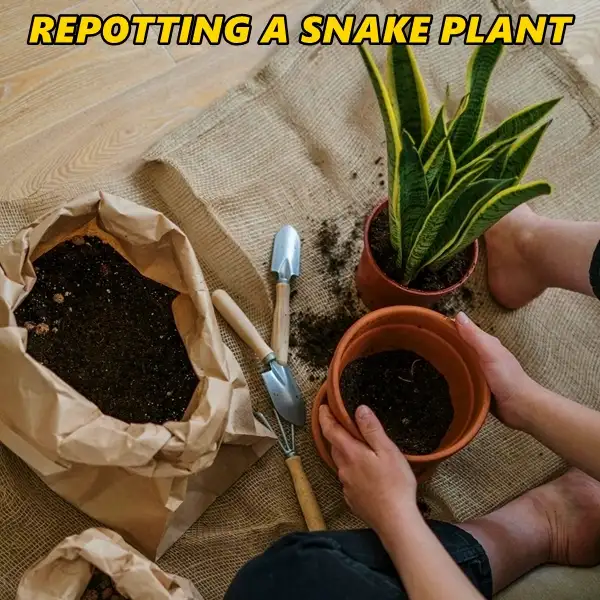
Step-by-step Guide to Safely Remove a Snake Plant From Its Old Pot
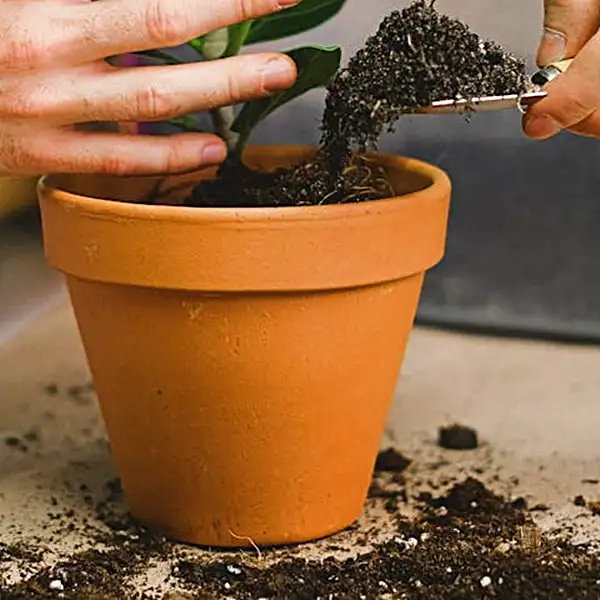
Careful extraction of your snake plant from its original home is crucial in preventing unnecessary damage. Remember – the objective here is propagation, not destruction!
- First, ensure that the soil around the roots has been thoroughly watered so they’re cooperative during extraction then gently tilt the pot sideways applying soft taps helping loosen compacted soil and releasing reluctant roots.
- After successfully removing the snake plant from the old container, inspect the root structure meticulously cutting off any diseased or dead portions promoting healthier future growth while reducing the risk of subsequent infection in new housing.
When replanting, keeping the principles of how to repot a snake plant in mind allows you to manage delicate root systems and avoid setbacks in the process.
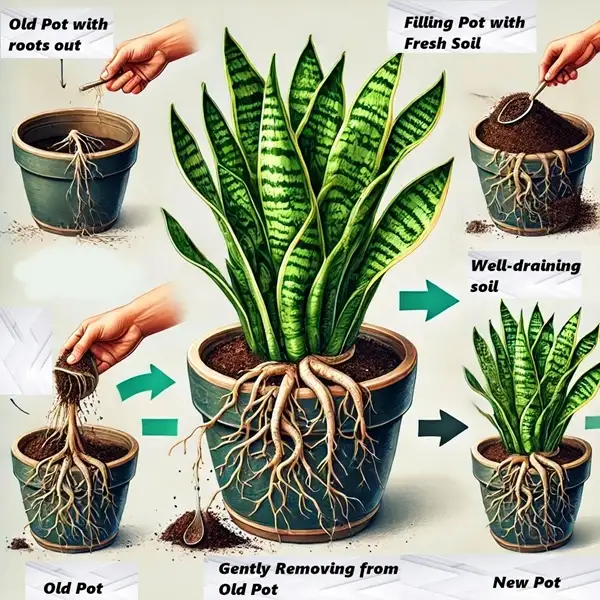
7 Steps: How to Prepare the New Pot For Ideal Plant Growth
| Step | Action |
|---|---|
| 1. Choose a Clean Pot with Drainage Holes | Ensures excess water can escape, preventing root rot |
| 2. Add a Layer of Pebbles | Improves drainage and prevents soil from blocking holes |
| 3. Prepare Potting Mix | Combine two parts gritty perlite or pumice, one part pine bark & one part peat moss or coconut coir for optimal drainage & nutrition |
| 4. Fill Pot Partially with Soil | Creates a base for plant to sit on, allowing roots to spread naturally |
| 5. Position the Plant | Place the snake plant upright in the pot, ensuring it’s centered and at the desired height |
| 6. Fill Around the Roots | Add remaining soil mix around the plant, pressing gently to eliminate air pockets |
| 7. Water Lightly | Moisten the soil to help settle it, but avoid overwatering |
Post-Repotting Care: Ensuring A Healthy Transition
The final but vital step involves detailed post-repotting care ensuring stress minimization and stimulating positive adjustment progress.
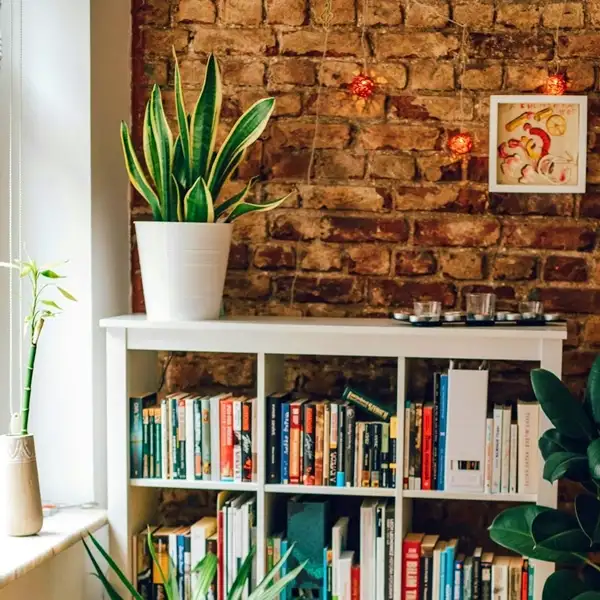
- Place your newly potted snake plant in a well-lit & stable environment to avoid drastic temperature fluctuations. This protects weakened structures from sudden climate changes that could derail the entire process through unexpected complications.
- Water requirements must be managed carefully. Overwatering newly repotted plants is a common mistake that can lead to root rot with disastrous consequences for their survival.
- Aim to keep soil slightly moist but consistently monitor plant’s condition & adjust your care methods as needed to nurture its health & promote growth.
Reward of Care
‘Plants do not grow merely to satisfy ambitions or to fulfill good intentions. They thrive because someone expended effort on them,’ Liberty Hyde Bailey wisely observed. These are indeed wise words, especially when considering the detailed, methodical approach required during snake plant repotting.
Caring for your snake plant takes time & effort but results are worth it. With proper attention, your plant will thrive, reflecting your growing skills as a gardener. Each successful repotting is a step toward mastering plant care, turning you from a beginner into an expert.
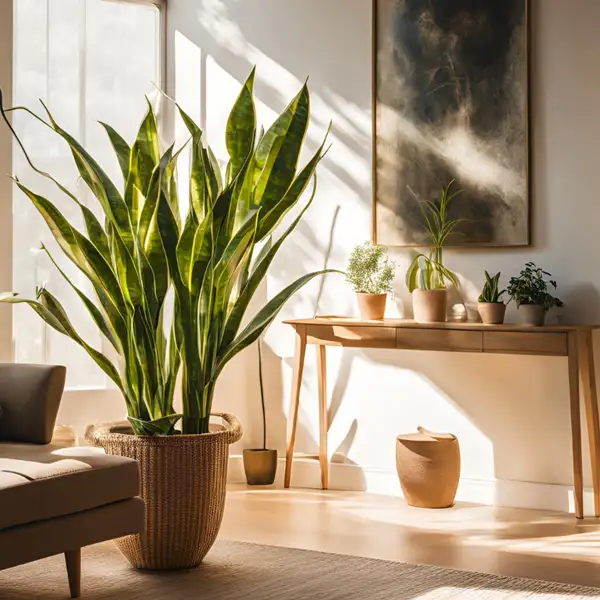
Snake plants are resilient. They adapt, grow beyond expectations & bring natural beauty into your home. With the right care, they not only survive but flourish & add a unique charm to any space. 🌿✨
Frequently Asked Questions
What happens if you don't repot a snake plant?
A root-bound snake plant stops growing, struggles to absorb water & nutrients & weakens over time.
What kind of pots do snake plants like?
They prefer breathable terra cotta pots which prevent overwatering. Choose a pot only slightly larger than root system to avoid shock.
Should I water my snake plant immediately after repotting?
No! Wait a few days to let roots adjust. Water lightly when soil feels dry to prevent root rot.
Why is my snake plant dying after I repotted it?
Overwatering or root disturbance can stress plant. Ensure proper drainage, avoid immediate watering & give it time to recover.
What kind of soil does a snake plant need?
A well-draining mix of sand, perlite & compost prevents root rot & supports healthy growth.