Key Takeaways
| Key Takeaways | What You’ll Learn |
|---|---|
| Croton Propagation Basics | Uncover the fastest and most effective way to grow new crotons |
| Ideal Growing Conditions | Find out the best environment to keep your croton plants thriving |
| Selecting the Right Cutting | Learn how to choose a strong and healthy cutting for propagation success |
| How to Plant Croton Cuttings (Step-by-Step Planting Process) | Follow an easy and effective method to ensure proper planting |
| Essential Post-Plant Care | Discover how to maintain moisture, sunlight, and nutrients for optimal growth |
| Growth Enhancement Tips | Explore how to make crotons grow bushier and more vibrant |
| Common Propagation Questions Answered | Get expert solutions to the most frequently asked croton propagation queries |
Croton Cuttings – Basic Facts
Growing crotons from cuttings is often preferred over germinating seeds because it is generally faster and more successful to carry over desirable characteristics like leaf shapes and colors.
5 Best Environmental Factors for Croton Plants
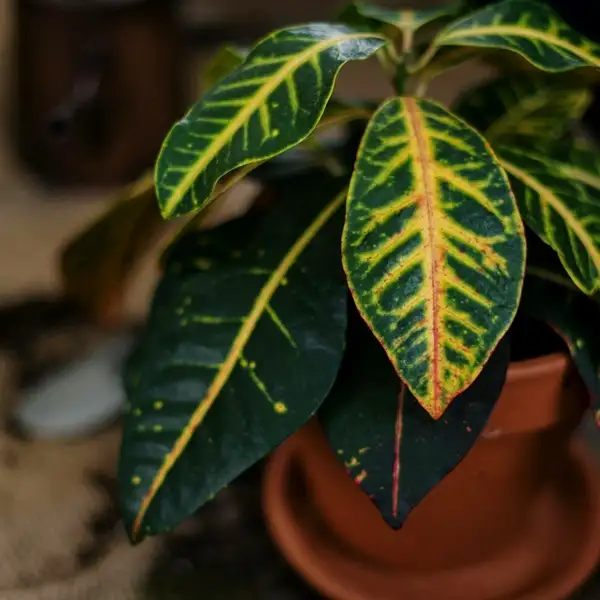
Before coming to the topic, I want to share some necessary information about Crotons, mentioned below.
| Factor | Optimal Condition |
|---|---|
| Temperature 🌡️ |
|
| Light ☀️ |
|
| Humidity 💧 |
|
| Soil Type 🪴 |
|
| Watering 🚿 |
|
It is important to note that mature croton plants can reach up to 6 to 8 feet tall outdoors but usually stay within 2 to 3 feet when indoors.
Moreover, Dr. Leonard Perry states that ‘crotons have been popular greenhouse specimens since Victorian times because they’re relatively resistant to pests.’
4 Steps To Select the Right Cutting
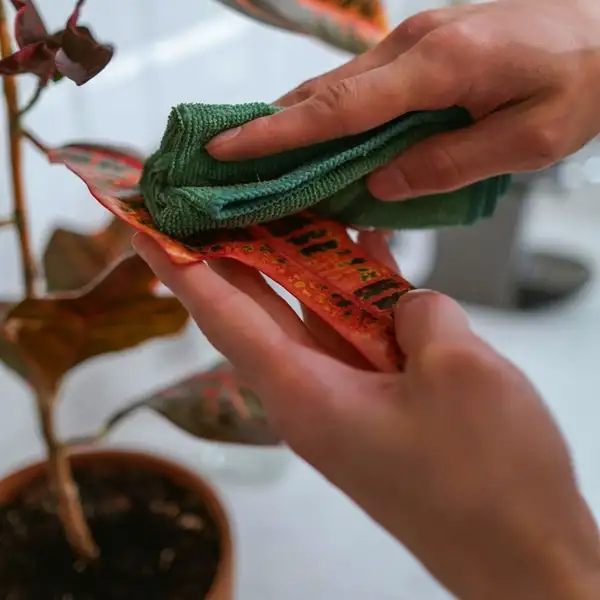
Choosing an appropriate cutting significantly contributes towards a thriving plant development journey right from the start. Hereafter are some guidelines you might need while selecting Croton cuttings, which will help you understand how to plant Croton cuttings more effectively:
| Characteristic | Ideal Selection |
|---|---|
| Length 📏 | 4 to 6 inches (10 to 15 cm) |
| Stem Type 🌿 | Semi-hardwood with a mature base and a soft tip |
| Leaf Count 🍃 | At least 3 healthy leaves; remove lower leaves to prevent rot |
| Health Status 🩺 | Free from pests, diseases, and physical damage |
Preparation Steps for Planting Croton Cuttings
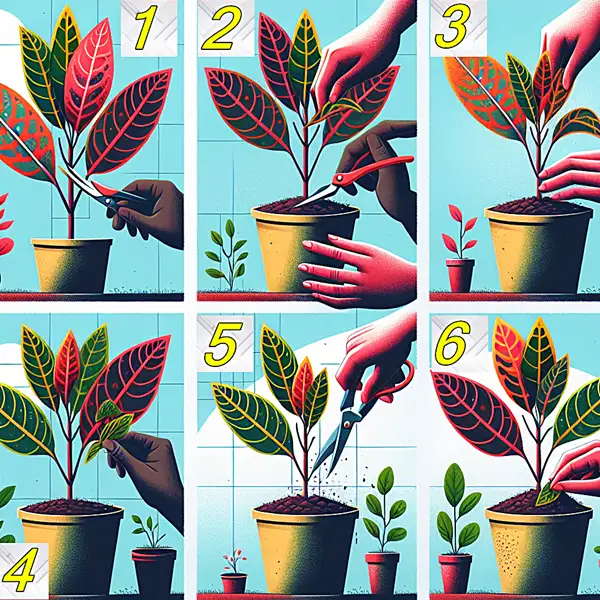
- After selecting a suitable cutting, the next step is to prepare it properly for planting. The success of how to plant croton cuttings lies in the right preparation.
- It all begins with trimming off leaves on the bottom half but leaving a few at the top to facilitate photosynthesis during the rooting phase.
- Soak the end of cutting into a rooting hormone before planting which promotes quicker root growth and enhances overall survival rates among new transplants. This should be lightly dusted off so that excessive hormonal concentration could not harm newly forming roots rather serving its intended purpose beneficially.
- At this point, preparing a conducive environment becomes extremely critical. Horticulturists recommend using a sterile potting mix composed mainly of peat moss or perlite coupled with an acidifying factor such as pine bark fines since crotons favor slightly acidic conditions ranging from pH 4.5-6.5 approximately.
Planting Process And Proper Placement Of Croton Cuttings
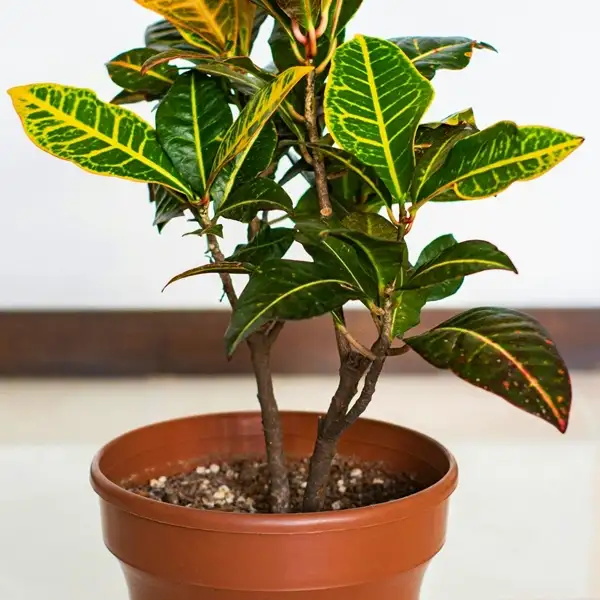
The next step in your gardening journey is to place the prepared cuttings in their designated spots, ensuring proper establishment without disrupting their growth progress. This is an important part of how to plant croton cuttings to make sure they grow successfully.
- Create holes in a moist potting medium large enough to comfortably accommodate the inserted stems. Gently press soil for firm support but keep it loose enough to allow roots to expand easily during the establishment phase while avoiding excessive pressure on initial growth.
- Place pots in optimal light conditions preferably under indirect bright light indoors & keep them away from direct sunlight which can cause leaf scorch.
- Make sure they receive sufficient warmth to promote quick root emergence which is beneficial for plant’s initial growth.
5 Expert Post-Plant Care Tips
After planting, it’s time to learn post-plant care tasks.
| Care Aspect | Guidelines |
|---|---|
| Watering 🚿 |
|
| Fertilizing 🌿 |
|
| Sunlight ☀️ |
|
| Humidity 💧 |
|
| Temperature 🌡️ |
|
Tips To Encourage Healthy Growth From Cuttings
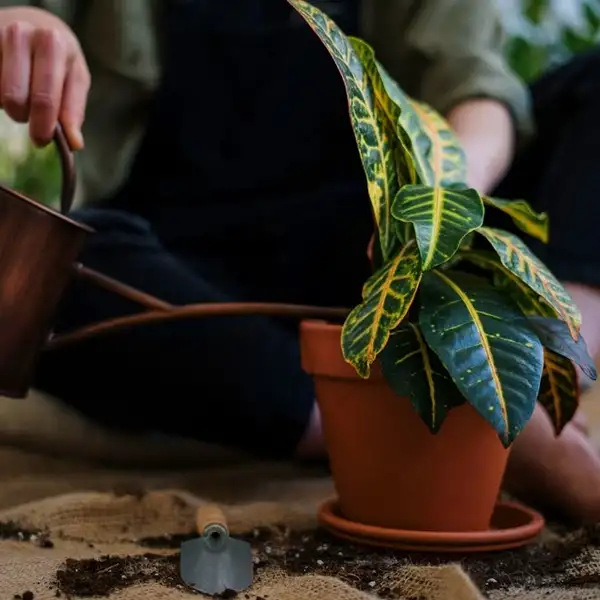
- To encourage a multitude of leaves & an attractive & bushy appearance while nurturing young croton cuttings after successful root establishment, consider pinching back top of stem. This encourages emergence of multiple lateral branches leading to denser foliage & enhancing the plant’s aesthetic value. The strikingly vivid color patterns across the entire plant create a captivating sight, highly preferred for their remarkable variations.
- “Providing your cuttings with consistent warmth, light, and humidity kickstarts growth,” says Wendy Kiang-Spray of Fine Gardening Magazine. “Remember to rotate pots regularly so all sides receive equal amounts of light.”
- It is also recommended to use a balanced 20-20-20 NPK ratio fertilizer for uniform growth, applied individually to meet nutritional needs & support development of new shoots. This ensures alignment with plant’s vibrant characteristics enhancing its aesthetic value & contributing to overall landscape.
Final Thoughts
Following the right steps on how to plant croton cuttings can guarantee your success in growing these beautiful plants. This includes selecting the appropriate cutting, properly preparing the plant, and providing continuous care.
Thinking about expanding your Croton care knowledge? Check out these helpful articles:
- What to Plant with Croton and What to Avoid
- Are Croton Plants Poisonous to Cats? What Cat Owners Need to Know
- How to Care for Croton Plants – All Factors
Frequently Asked Questions
Is it better to propagate croton in water or soil?
Soil propagation is more reliable since it provides stable conditions for root development. Water propagation may weaken roots when transferred to soil.
How to make croton bushy?
Pinch back top stem to encourage lateral branching & dense foliage. Maintain proper light, warmth & fertilization.
How to make croton grow faster?
Ensure bright indirect light, warmth (60°F–85°F) & nutrient-rich & slightly acidic soil. Water regularly & fertilize biweekly in summer. Rotate the plant for even light exposure.
Can I propagate a croton from just a leaf or cutting?
A single leaf won’t work. Use a stem cutting with at least one node to ensure root growth.
Why are crotons hard to grow?
They need consistent warmth, humidity & light. Environmental changes like drafts, overwatering or low light cause stress & leaf drop.
How to propagate croton from leaf?
Crotons cannot grow from leaves alone. Use a stem cutting with nodes, apply rooting hormone, and plant in soil or water.
How to plant croton cuttings in water?
Submerge a 4–6-inch cutting’s lower part in water and place it in bright, indirect light. Change water weekly until roots form.
How to plant croton cuttings in soil?
Plant a hormone-treated cutting in well-draining, slightly acidic soil. Keep it moist, warm, and in indirect light for strong root development.


