Key Takeaways
| Key Takeaways | Why It Matters |
|---|---|
| Effortless Propagation | Discover how to grow new plants without complex techniques. |
| Perfect Timing | Timing can make or break your success—find out when to start. |
| Essential Materials | Using the right tools makes all the difference in plant health. |
| How to propagate Spider plants (Step-by-Step Guide) | Follow a foolproof method for propagating spider plants. |
| Troubleshooting Tips | Avoid common mistakes and ensure successful propagation. |
| Post-Propagation Care | Learn how to nurture new plants for long-term survival. |
| Expert Insights | Get valuable advice from specialists to enhance your results. |
Basics of Spider Plant Propagation
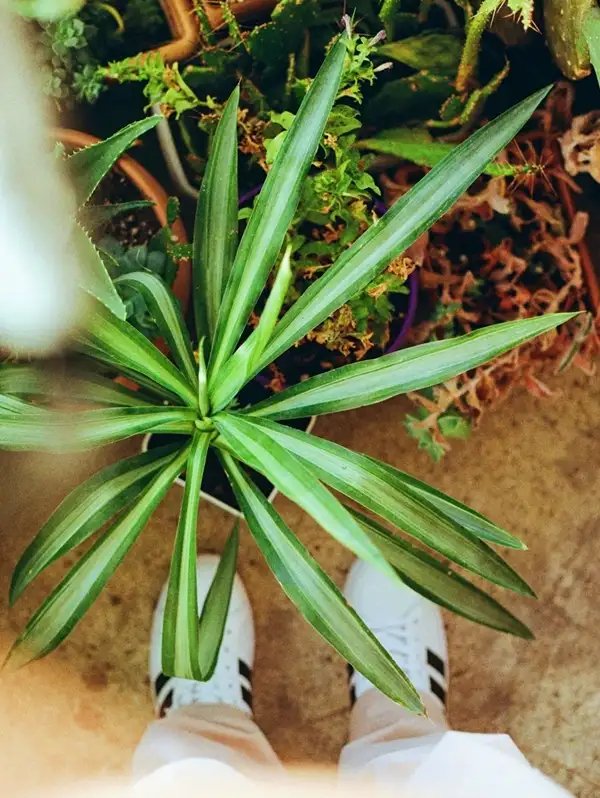
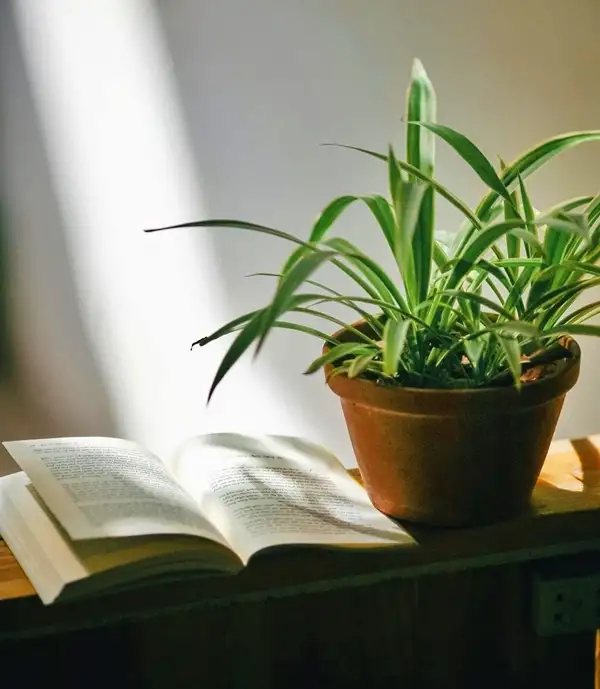
The famous spider plant (Chlorophytum comosum), known for its lush, green foliage & adaptable nature, propagates primarily through offsets or “spiderettes.” When learning how to propagate spider plants, it is essential to understand natural propagation process & plant’s offsets (some call cuttings/leaves). Your everyday care can lead to a profusion of these baby plants, which dangle off mature ones like tiny spiders hanging from a ceiling. This resourceful aspect makes spider plant propagation an effortless task even for beginner gardeners.
Spiderettes mimic the mature spider plant in a miniaturized version – they have roots, leaves and are capable of maturing into fully-grown plants. Their presence explains why growers liken artificial means of reproduction (like seeds) to taking the long way home when you can cross street right! Hence, understanding this plant’s natural reproduction process provides invaluable insights into successful propagation.
The first thing to note is that your parent-plant needs good health – vigorous growth, plenty of foliage with few or no disease signs – because it directly affects baby shoot production chances. You should also regularly water them without oversaturating; too much moisture will rot developing roots before they get an opportunity to grow.
When to Propagate Spider Plants – Best Season
Timing is pivotal in almost every gardening endeavor– none more so than when branching out through spider plant propagation.
- Numerous expert gardeners recommend late spring until early fall as the perfect time period for this activity.
- In other words, propagate during active growing periods when increased temperatures and longer daylight hours yield quicker results.
- During winter months, you might face delays or root development failure, primarily due to inadequate light intensity and lower temperature ranges, which limit the metabolic processes crucial for root formation.
- An interesting fact released by Texas A&M University helps back up specialists’ spring-fall preference: 70°−90°F marks the optimum temperature range necessary for promoting efficient roots development on cuttings (Immel D. 2006). Lower temperature ranges usually prolong this developmental period, while temperatures exceeding those mentioned earlier can equally cause root damage hence they prove unsuitable.
Materials Needed for Successful Spider Plant Propagation
Once you understand the rudiments of spider plant propagation and have identified the right season to do so, you must gather all the necessary materials to successfully propagate your plants. The list below represents the key items required –
| Material | Description | Purpose |
|---|---|---|
| Healthy Spider Plant with Mature Pups | A well-nurtured parent plant exhibiting baby shoots or “spiderettes.” | Source of new plants for propagation. |
| Sterile Potting Soil Mix | Well-draining soil, free from pathogens. | Provides a healthy growing medium for new plants. |
| Sterilized Sharp Scissors or Knife | Clean, sharp cutting tools. | Ensures clean cuts to prevent infections during plantlet separation. |
| Clear Plastic Bag | Transparent bag large enough to cover the pot. | Maintains high humidity levels, promoting root development. |
| Containers/Pots with Drainage Holes | Small pots equipped with holes at the bottom. | Houses the new plants while preventing waterlogging. |
Every single material plays an essential role within the propagation step-by-step process, as discussed in the proceeding sections: pots hold cuttings steady in firm positions once inserted into potting mixes; clear plastic bags maintain high humidity levels, immensely benefiting new roots development while preventing water loss through transpiration.
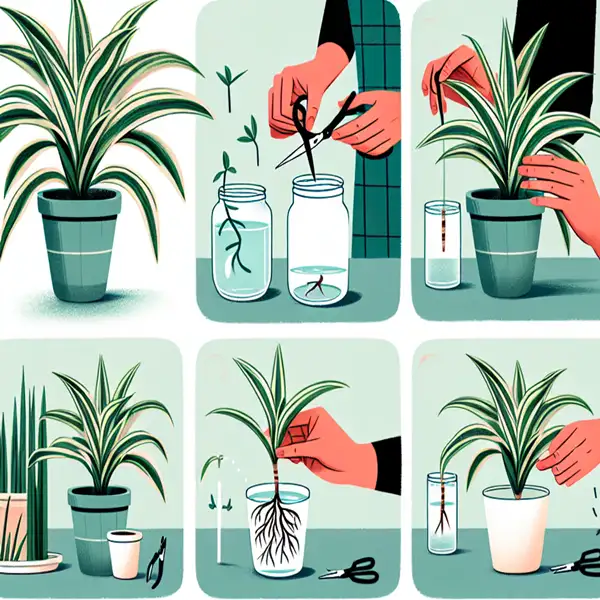
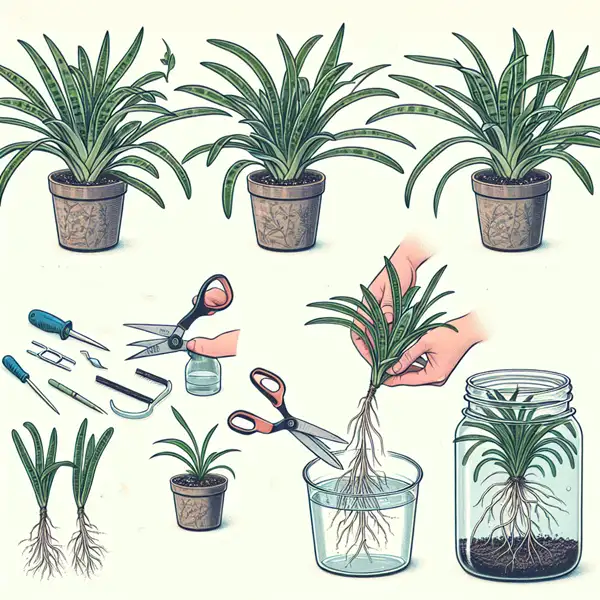
Step-by-Step Guide to Propagate Spider Plants from Baby Shoots
- Begin by selecting a lush, healthy spiderette from the parent plant.
- Disentangle aerial roots (if present) carefully without damaging them before cutting off the selected pup using sharp sterilized scissors/knife.
- Fill up pots until three-quarter level using prepared potting soil then make a hole roughly equivalent to size of the baby shoot’s roots system in the center part.
- Insert the impeccable end (with visible budding roots) into the hole created and fill it back with soil, avoiding burying the leaf sections inside the mix.
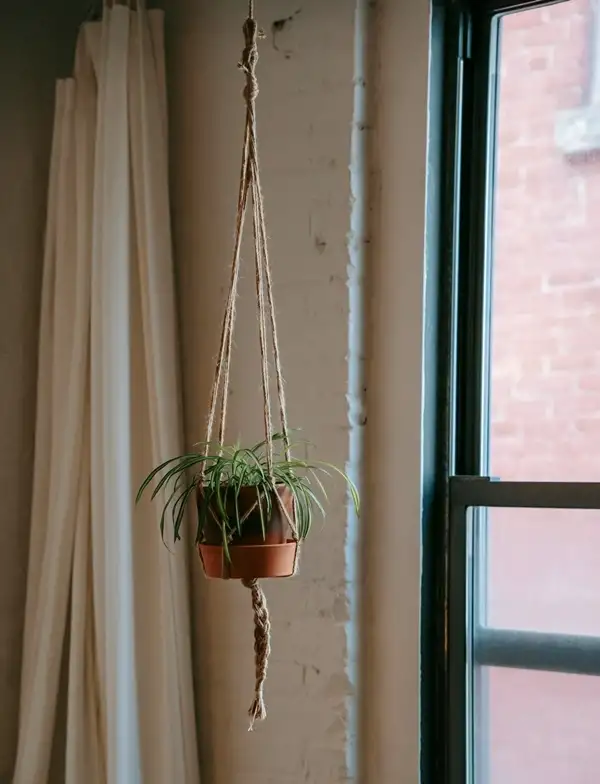
- Drape a clear bag over each individual pot containing newly propagated plants, securing it around the container edges. This creates a pseudo-greenhouse, eliminating the need for constant misting while maintaining moisture levels that benefit developing shoots. It helps ensure newly transplanted plants thrive with proper post-transplant care.
4 Common Issues in Spider Plant Propagation
Despite the spider plant’s known hardiness, it is not immune to certain propagation issues.
| Issue | Possible Cause | Solution |
|---|---|---|
| Warped or Yellowing Leaves | Overwatering | Reduce watering frequency; ensure soil is moist but not soggy. |
| Brown Leaf Tips | Underwatering or low humidity | Increase watering slightly; mist the plant to boost humidity levels. |
| Dying-Off Baby Shoots | Disease infection | Apply appropriate fungicides/pesticides; consult local Cooperative Extension Service agents for guidance. |
| Stunted Aerial Root Growth | Insufficient humidity | Mist the plant regularly or cover with a clear plastic bag to maintain humidity until roots develop. |
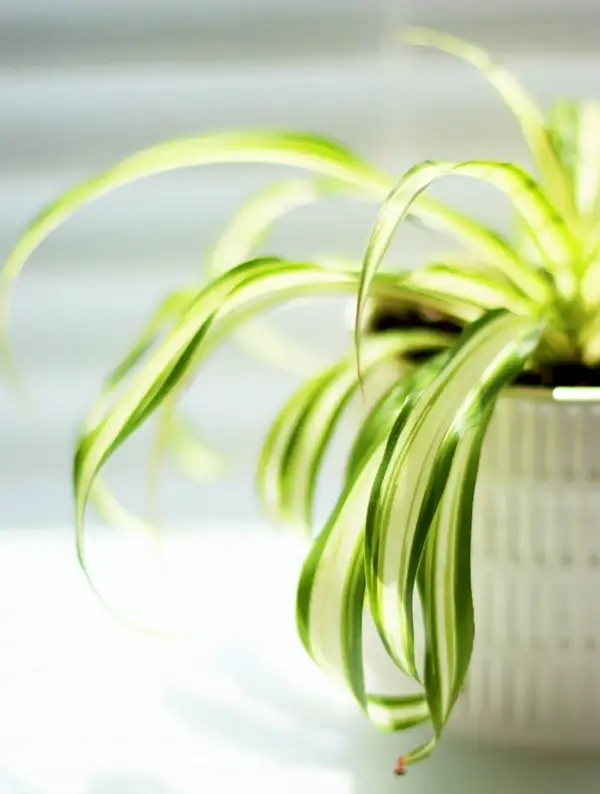
Post-propagation Care Tips for Newly Grown Spider Plants
Proper post-propagation care practices play a critical role in ensuring your newly propagated plants’ survival. Knowing how to propagate spider plants is just the beginning; providing the right care afterward is equally essential.
| Care Aspect | Recommendation |
|---|---|
| Light |
|
| Watering |
|
| Humidity |
|
| Temperature |
|
Humidity level adjustments are crucial in the post-propagation phase, where high moisture requirements initially shift downward slightly. Persistently wet air encourages potential fungal disease outbreaks; therefore, according to outdoor gardening author Leslie Halleck–
“Spider plant mama prefers relative humidity between 50-70%”
-(Halleck L., Plant Parenting: Easy Ways To Make More Houseplants, 2019).
Final Touch to Successful Propagation
Remember that the best results from spider plant propagation not only hinge on initial steps taken but also on the effort invested in post-propagation care.
Frequently Asked Questions
Can you grow a spider plant from a cutting?
Yes, grow a spider plant from its baby shoots (spiderettes). Separate them, plant in soil and they will mature into full plants.
Is it better to propagate spider plants in water or soil?
Soil is best. Water helps roots start but soil provides nutrients and better long-term growth.
Should I cut the babies off my spider plant?
Yes, cut spiderettes with sterilized scissors to help both the parent and baby plant grow independently.
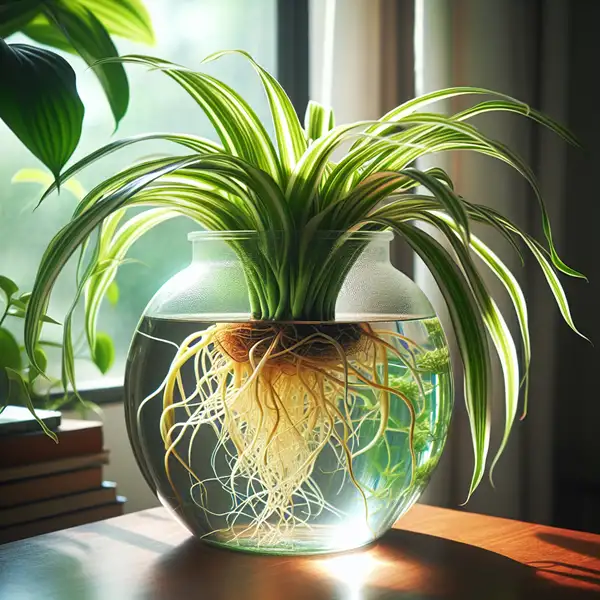
Can you leave spider plants in water?
Temporarily, yes, but transfer to soil for nutrients and healthy development. Prolonged water use can cause root rot.
How often should I water a spider plant?
Water moderately. Keep soil moist, not soggy. Let the top inch dry between waterings to prevent root rot.
Can you plant a spider plant without roots?
Yes, but it's not ideal. Let the cutting develop roots in water first, then plant in soil.
Can I cut my spider plant all the way back?
Yes, but do not remove too much at once. Trim brown or leggy leaves to improve appearance and encourage growth.
How to make spider plants have babies?
Ensure good light, moderate watering & nutrients. Spring & summer are best seasons for new shoots.
How do spider plants reproduce asexually?
They grow spiderettes on long stems. These can be separated and planted as clones of the parent plant.
How to propagate a spider plant in water?
Cut a rooted spiderette, place it in water and change the water regularly. Transplant to soil once roots strengthen.
How to propagate a spider plant without babies?
Encourage shoots by trimming a mature stem slightly. Spiderettes remain the easiest propagation method.
How to propagate a spider plant in soil?
Cut a healthy spiderette, plant in well-draining soil and keep humid until roots establish.
How to propagate a spider plant indoors?
Same as soil propagation: cut a spiderette, plant in soil and keep in bright, indirect light.
How long does it take for spider plant babies to grow roots?
Usually 2–3 weeks, depending on warmth, moisture and light.
Where to cut spider plant babies?
Cut below the node (small root nubs) with clean scissors. Plant in water or soil to encourage root growth.