Key Takeaways
| Key Takeaways | What You’ll Discover |
|---|---|
| Propagation Mastery | How to propagate Croton plants and the most effective way to multiply your croton collection effortlessly. |
| Growth Essentials | The secret formula to keeping crotons healthy and vibrant year-round. |
| Strategic Placement | The best locations inside your home to maximize your croton’s beauty. |
| Common Pitfalls | Critical mistakes many gardeners make and how to avoid them. |
| Long-Term Care | Proven strategies for ensuring your croton stays lush and colorful. |
Basics of Crotons
With its vibrant colors and easy-to-follow care instructions, learning how to propagate croton plants has become a popular choice for those looking to expand their indoor and outdoor gardens.
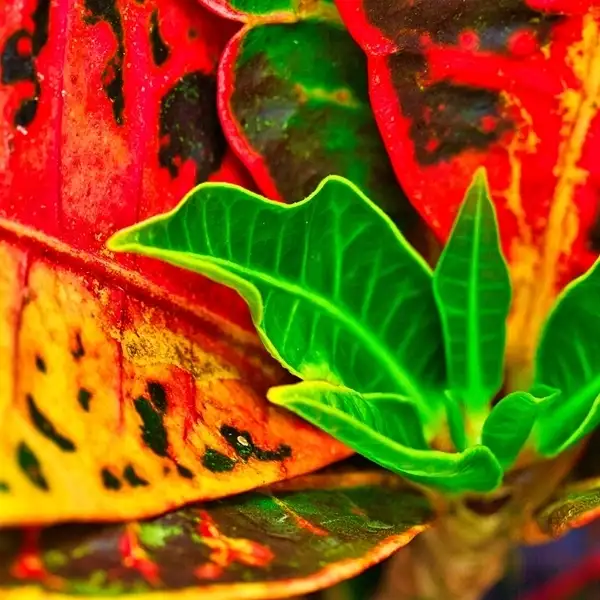
In essence, Crotons are dicotyledonous flowering plants from the Euphorbiaceae family– thriving most on high humidity levels. Notably, their distinct heterophylly makes their leaf shape, size, and color patterns vary significantly among varieties.
Crotons offer a fantastic palette of choices that can satisfy any gardener’s taste. They can cleanse the air by absorbing harmful toxins while releasing fresh oxygen—an absolute win-win situation!
Essential Conditions for Growing a Croton Plant
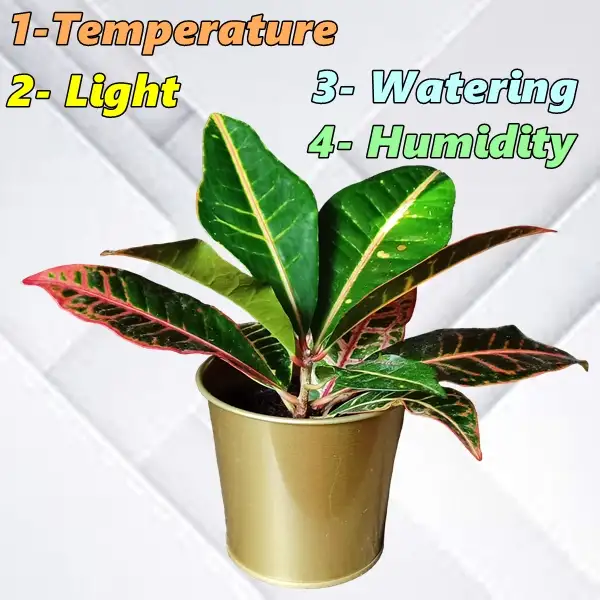
Like all living things, crotons need the right environment to thrive, one that works with their natural needs and complex biology.
| Factor | Ideal Conditions |
|---|---|
| Temperature 🌡️ | 16-29°C (60-85°F) |
| Light ☀️ | Bright, indirect sunlight; avoid harsh midday sun |
| Soil 🪴 | Well-drained, nutrient-rich soil |
| Watering 💧 | Keep soil consistently moist; adjust based on season and climate |
| Humidity 💦 | High humidity levels preferred |
On top of that, feeding them regularly, and managing pests are all essential to keeping your croton lush and thriving.
Where to Place Croton Indoors
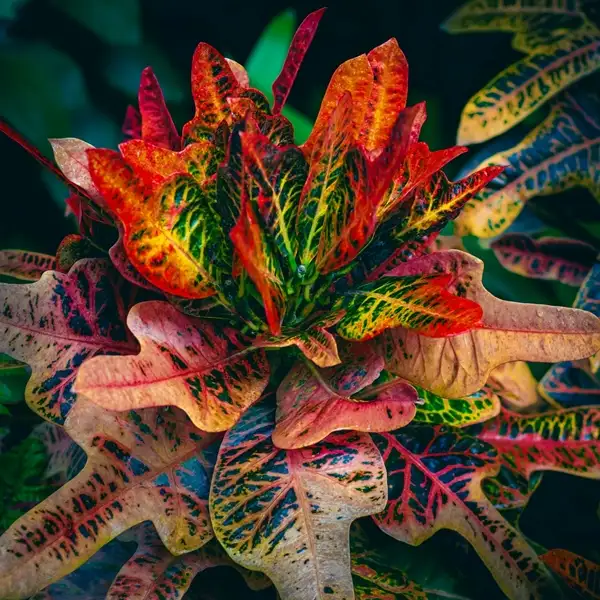
Crotons absolutely love bright light. They thrive in direct sunlight but can also be managed with indoor lighting. That’s why many seasoned gardeners place them near east- or west-facing windows where they can soak up morning or evening sun while avoiding harsh midday heat.
Too much exposure to intense midday sun can cause leaf burns or even lead to leaf loss which can slowly weaken our plant. If these tough conditions continue, it might even cause croton to decline prematurely.
Why Propagate Crotons and the Best Techniques to Try
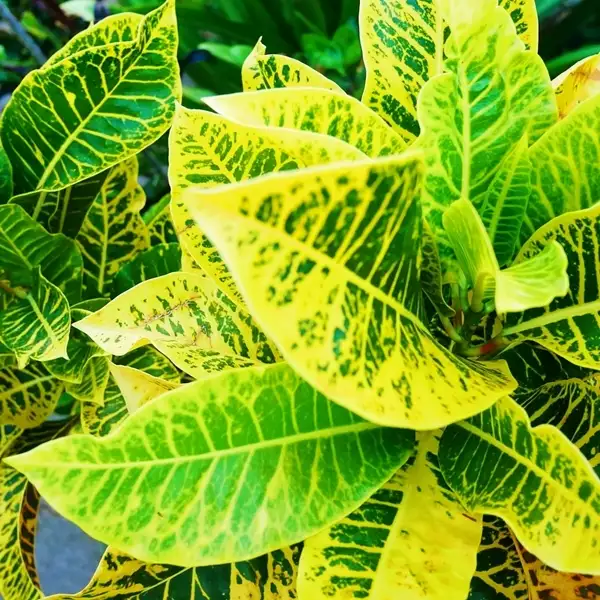
Propagation is important when it comes to croton plants because they are pretty sensitive to their environment & even small changes can impact their growth. If things are not quite right, the plant might start to struggle but thankfully, propagation techniques like sprouting can help bring it back to life.
People around the world have successfully used these methods to revive crotons even turning unhealthy branches into fresh & vibrant growth. It is like watching nature work its magic!
By trying out techniques like stem cuttings or air layering you can easily propagate crotons right at home. Understanding how to propagate croton plants not only helps spread these stunning plants but also aids in maintaining biodiversity. Even though we might be limited in some ways, every little bit we do counts toward a bigger & important cause.
Stem Cuttings Vs Air Layering
Before we explore both methods step-by-step, first, let’s do a concise comparison between the two famous methods of propagation in Crotons –
| Method | Description | Pros | Cons |
|---|---|---|---|
| Stem Cuttings ✂️ | Taking a cutting from a mature plant and rooting it in soil or water | Simple, effective, maintains parent plant traits | Requires careful handling to prevent rot |
| Air Layering 🌿 | Making a small cut on a branch, wrapping it with moist moss, and allowing roots to develop before cutting | Produces strong, well-established plants | More time-consuming and requires careful monitoring |
(Step-by-Step) Propagating Crotons Through Stem Cuttings

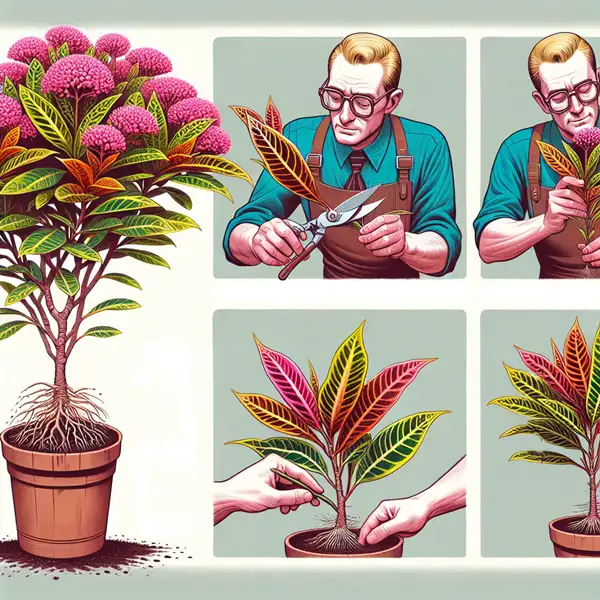
Most popular method to propagate crotons is through stem cuttings.
- It involves taking a cutting from a mature & healthy croton plant using sterile tools & then re-growing it independently resulting in a new specimen with same traits as original plant.
- Genetic traits are inherited intact without any alterations unless specified by specific requirements such as genetic manipulation.
The process is straightforward yet effective.
- It begins with filling pots (starting with a layer of pebbles at the bottom, followed by nutrient-rich topsoil),
- Then carefully water to maintain a moist condition around root zone & avoid dryness between sessions.
- Lastly, place cutting in a well-lit spot, preferably near a window where it can receive adequate sunlight daily.
This method, when followed systematically, can yield astounding results & save money in long run!
Guide to Propagating Croton Plants by Air Layering

Air layering offers a more involved yet rewarding technique to propagate croton plants effectively. While it’s a bit more involved than stem cutting, it often results in stronger, faster-growing plants.
Cut and Wrap
- To start air layering, make a small cut on a branch & wrap it with moist sphagnum moss.
- Cover moss with plastic & secure ends tightly with string or tape. This keeps moisture locked in, giving roots a chance to develop without drying out.
When you learn how to propagate croton plants through methods like air layering, you gain valuable insight into encouraging faster & stronger root systems.
Root Development
- Over the next 4-6 weeks, roots will begin to form in the moss. This gives our plant plenty of time to develop a solid root system.
Cutting
- Once the roots are strong enough, carefully cut the branch just below where the roots have formed using a sharp & clean tool to prevent any infection.
Replanting & Nurturing
- Plant the rooted section into new soil, treating it with the same care and attention you’d give any new plant.
- As it adjusts to its new environment, continue to nurture it and watch it grow. The process can be incredibly rewarding and watching it thrive will bring years of joy.
Tips on Root Care after Successful Propagation

Care for New Shoots
After successful propagation, it’s essential to take good care of the new shoots’ delicate roots. To stimulate their growth while minimizing trauma from transplantation-
- Water regularly, keeping the soil consistently moist (but not soggy).
- Provide adequate light exposure (bright, indirect light is preferred).
- Feed them balanced liquid fertilizer every two weeks during the growing period.
- During winter, reduce feeding and adjust care to support the plant’s conservation.
This will promote steady growth and maturation, eventually resulting in a beautiful, flourishing plant that adds vibrant color and rejuvenates dull spaces, fulfilling its purpose in a truly valuable way.
Correct Drainage & Avoiding Root Rot
Another important point worth mentioning is designing drainage pattern of pot correctly to avoid water stagnation which can lead to root rot & ultimately plant fatalities if not addressed promptly.
Gardeners should actively manage situation as soon as warning signs appear to prevent further damage & ensure croton’s well-being.
How to Transplant Newly Propagated Croton Plant Safely

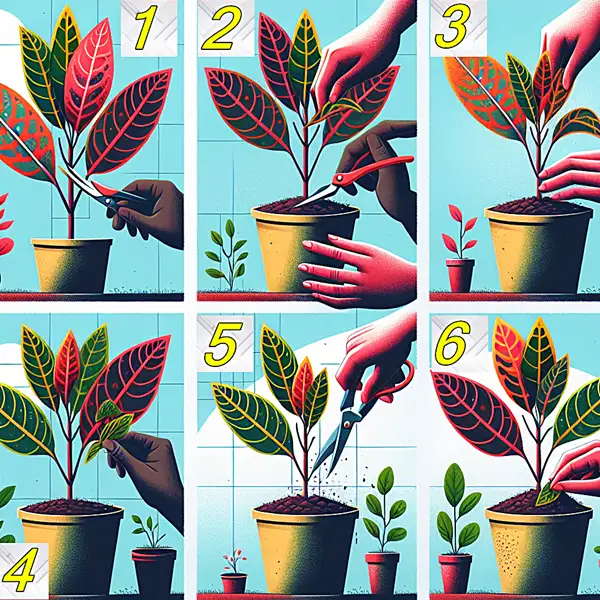
(Step 1) Preparing the Pot
When transplanting newly propagated crotons, first make sure pot is large enough for roots to spread out comfortably without hitting the edges too quickly. It should also have adequate space for future expansion.
(Step 2) Transplanting the Plant
Gently remove the propagated young plant from its initial pot and place it in the center of the new, larger container.
(Step 3) Filling the Gaps
The next stage involves filling the surrounding gaps with nutrient-rich soil up to the level of the root crown. Tamp it down slightly to provide a firm hold, preventing the plant from toppling over when it becomes heavy.
(Step 4) Avoid Root Disturbance
Try to avoid disturbing the delicate roots as much as possible during the whole process. Instead, offer a supportive environment to allow the plant to grow freely. Observe closely for any abnormal symptoms (such as yellowing or drooping leaves, etc.) and intervene promptly to rectify any issues.
(Step 5) Watering After Transplanting
Water the plant thoroughly soon after transplantation to establish a good start, fostering a long-lasting bond with this precious gift from nature.
(Step 6) Cherishing the Plant
Cherish and enjoy the plant, as this symbiotic relationship reflects the pure essence of love, benefiting both the plant and yourself!
4 Common Mistakes To Avoid in Propagation

Although crotons are relatively easy to care for, many growers miss the subtle changes that happen daily, which can lead to problems with propagation. This often happens because the plant’s specific needs aren’t fully understood. When learning how to propagate croton plants, understanding these factors and how they influence growth is essential for success.
| Mistake | Impact | Prevention |
|---|---|---|
| Overwatering 🚰 | Leads to root rot and plant decline | Ensure well-draining soil and water only when the top inch of soil is dry |
| Insufficient Light 🌑 | Causes dull leaf colors and weak growth | Place in bright, indirect sunlight; consider supplemental lighting if necessary |
| Low Humidity 🌵 | Results in leaf drop and poor growth | Maintain high humidity through misting or using a humidifier |
| Using Leaf Cuttings 🍃 | Leaf cuttings may develop roots but won’t grow into a full plant | Use stem cuttings with nodes for successful propagation |
Paying attention to these factors is necessary. With a little care, you can turn challenges into successes, leading to a healthy croton that will thrive for years to come.
At first, crotons might not respond quickly, especially if the conditions aren’t perfect. But with patience and persistence, you’ll start seeing new growth. Your hard work and attention will pay off, and you’ll gain a deeper understanding of your plant, ultimately enjoying the rewards of a thriving, beautiful croton.
Maintaining Your Newly Grown Croton (Long-Term Care and Tips)
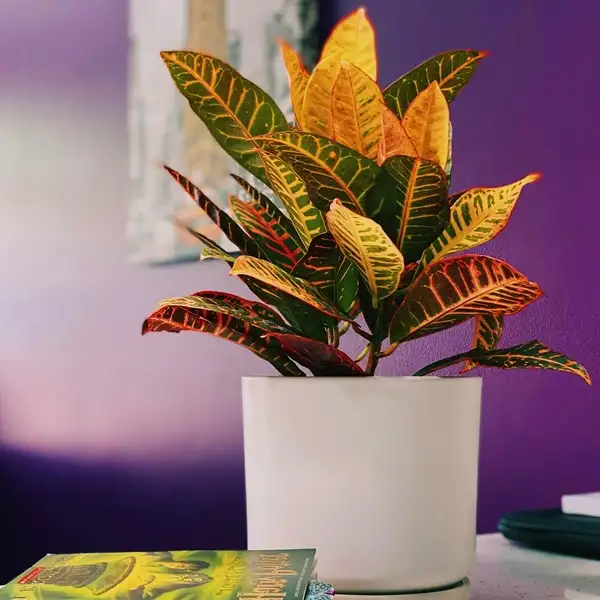
Self-Reliance After Propagation
Once successfully propagated, these charming plants become increasingly self-reliant as long as you continue to provide the care they need. Key responsibilities of cCrotoncaretakers include-
- Keeping an eye out for pests
- Providing just the right amounts of water and fertilizer
- Ensuring ideal conditions in the plant’s environment, especially light, temperature, and humidity levels
- Continuously checking and adjusting various factors affecting overall plant health, both positively and negatively
Critical Initial Phases
The initial phases of their lives are critical and require much attentive care. However, once they pass through this phase and gradually get accustomed to their surroundings, you can ease up a bit.
Ongoing Care for Normal Growth
Afterward, focus on normal growth requirements, which are-
- Pruning branches to impart the desired shape
- Replacing topsoil on an annual basis to add back lost nutrients
- Securing anti-pest measures periodically to prevent plant invasions from harmful species that can cause extensive damage
Maintaining Health and Appearance
By following these steps, you help maintain the plant’s good appearance and functional health, using universally standardized practices followed by globally renowned horticulture professionals and experts. With continued care, your crotons will thrive beautifully!
Time to Reap the Rewards of Croton Propagation
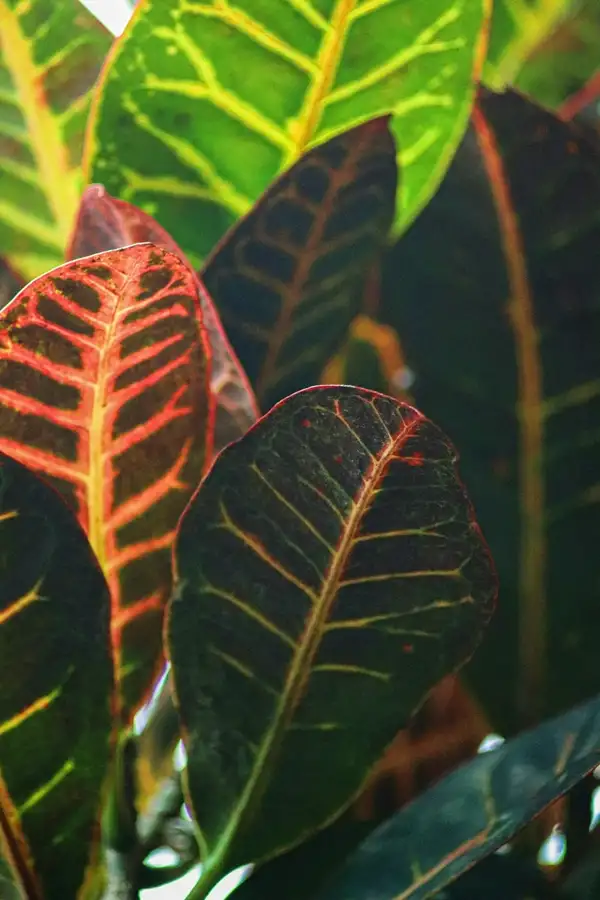
Gardening can be a rewarding hobby or even a profession that grants us the chance to contribute actively and positively toward biodiversity conservation, while delighting ourselves amidst Mother Nature’s treasures, waiting to be explored.
Croton’s propagation clearly illustrates such possibilities, turning achievable dreams into reality. All you need is a bit of understanding about simple biological processes, a respect for the life forms around you, and a commitment to nurturing them lovingly.
The more knowledge you acquire about plant behaviors and preferences, the better your chances of becoming a successful gardener, adding value to society across generations. Understanding how to propagate croton plants effectively is just one of the many skills that can help you on this journey.
These blessings of love and happiness are shared unconditionally and universally! Let’s pledge together – Grow Green, Go Clean – Today, Tomorrow, Forever!
Curious to know more about the world of crotons and their care? Explore our articles, where we break down every factor in detail to help you master the art of plant care. Start your journey to becoming a gardening expert today!
- What to Plant with Croton and What to Avoid
- How to Care for Croton Plants – All Factors
- How to Plant Croton Cuttings – Your Complete Guide
Frequently Asked Questions
Is it better to propagate croton in water or soil?
Soil is better because it helps crotons develop stronger, more stable roots. Water can work for initial growth but often results in weaker roots.
How to propagate croton Gold Dust plant?
Take a healthy stem cutting, remove lower leaves, and plant it in well-drained soil. Keep it warm, moist, and in bright light for best results.
How to propagate croton from the leaf in water?
Crotons don’t grow from leaf cuttings. Use a stem cutting with leaves attached instead, placing it in water or soil for proper rooting.
What is the best time to propagate croton?
Spring or early summer is ideal when croton is actively growing, ensuring faster root development.
Can you propagate Gold Dust Croton in water?
Yes, but soil works better. If using water, submerge the node, change the water regularly, and transplant once roots form.


